
Here's the tutorial, and I hope you enjoy it!
Halloween Jacks Tutorial - Part 1 of 2

So Many Choices, So Little Time! This is such an easy pattern to make, and you can use either 100% wool or 35% wool "felt". Real 100% wool is expensive, but lends itself to hand-dying and is very durable. Wool felt (35% wool/rayon blend) usually comes on rolls at your favorite fabric store, is ready to use right off the bolt, comes in many colors and is much less expensive, but is not washable and is not as durable as 100% wool. If you choose 100% wool, it needs to be “felted” first so it does not fray. You can felt real 100% wool by washing it in very warm water, rinsing in cold, and then placing it in the dryer on warm setting until dry. The wool will shrink and the fibers will bind together or “felt”. Finish by pressing with a steam iron set on wool setting. The wool can now be cut and used without the edges fraying. For the model I created for this pattern, I used 100% wool for the front of the candle mat and 35% wool felt for the backing. Whether you use wool or wool felt, relax and enjoy yourself, since creating is part of the fun!
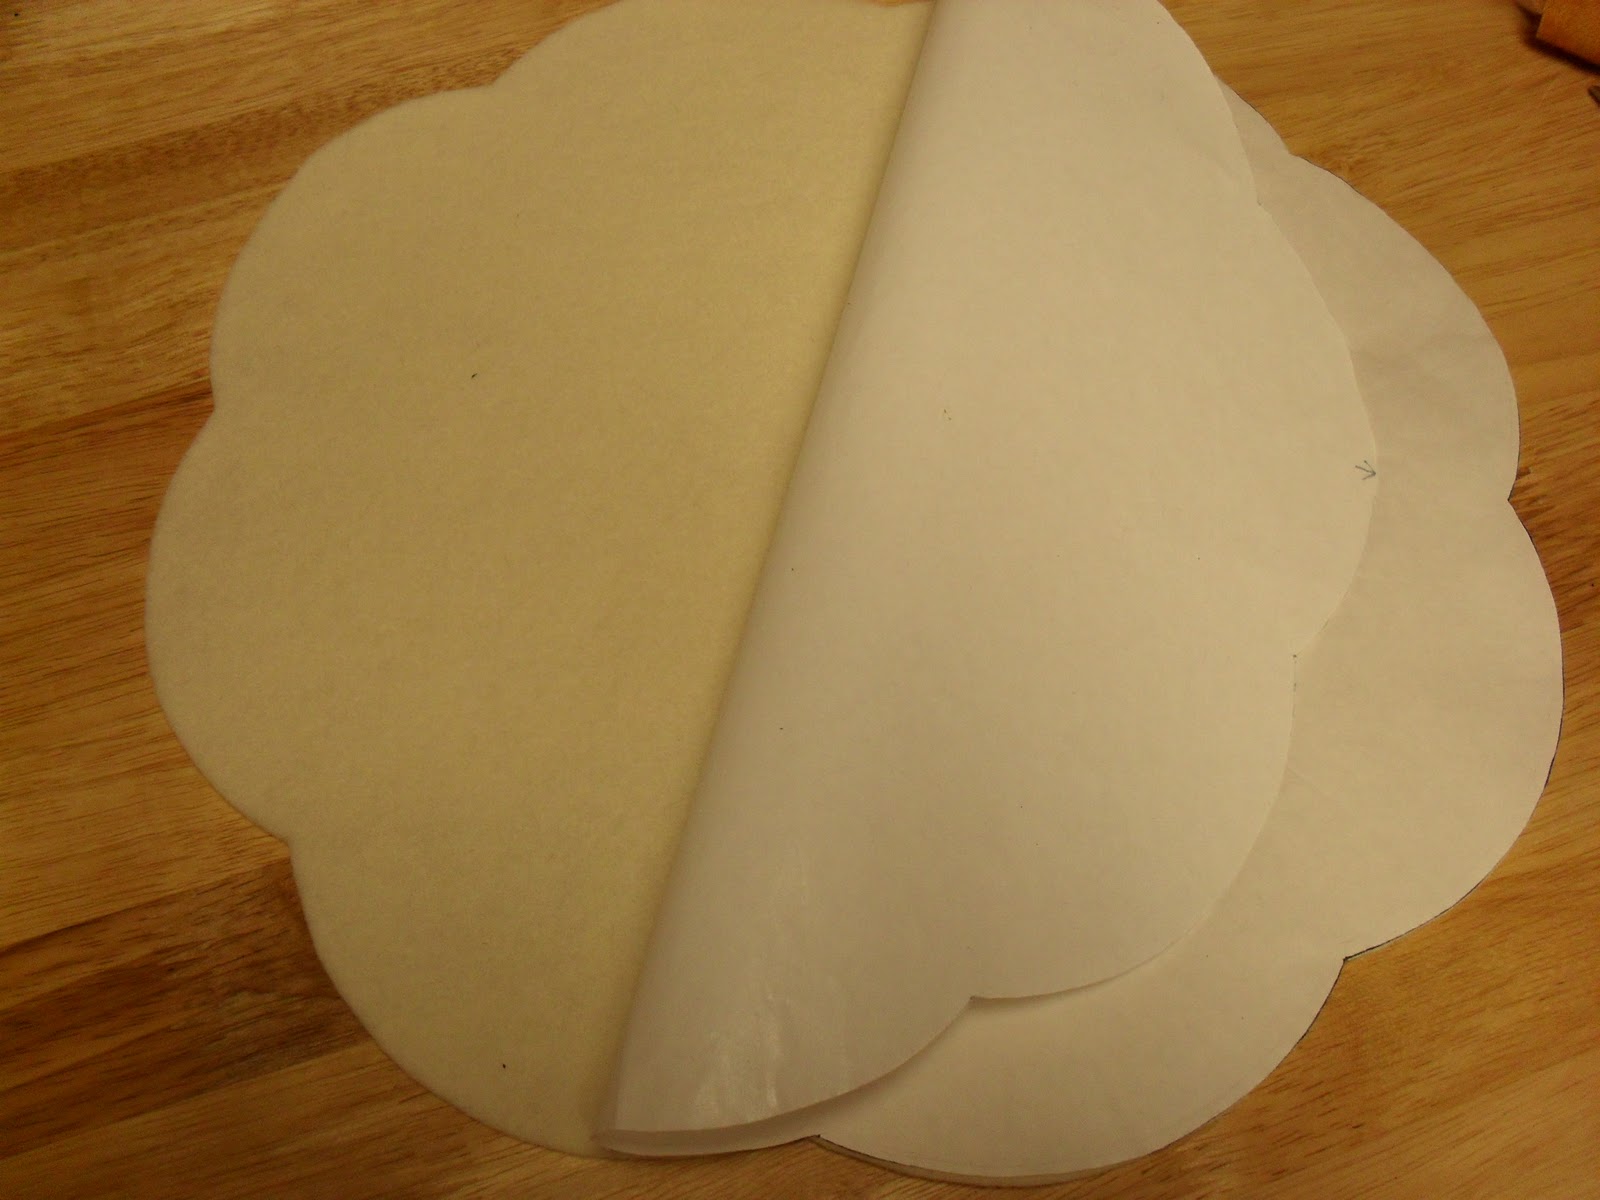
Tracing Onto Freezer Paper: The template for the scalloped background is first traced onto freezer paper. The freezer paper is placed waxy-side-down and ironed onto whatever color wool I have chosen. The freezer paper is very important because it stabilizes the wool and holds it firmly while you cut:

Cut along the lines, pull the freezer paper off, and voilà! You have a perfect scalloped background:
The rest of the template pieces are then traced onto freezer paper and ironed to whatever colors of wool you have chosen for the faces, eyes, noses, mouths, etc. [For those who order the Halloween Jacks pattern, I provide a nifty little trick for cutting out the sixteen (yikes! sixteen!) little black dots that go in the eyes in about a minute.] Here, you can see how I traced one of the pumpkins onto freezer paper and now I'm ready to iron it to the wool:


Oh No! It's Lumpy and Bumpy! By now, the front of your project probably looks uneven and you might be a bit discouraged. Don’t worry, we’re going to fix that in Part 2 of this Tutorial coming later this week, along with embellishing your candle mat and attaching a back to cover your stitches.
That's It for Part 1, How to Win Your Free Copy of "Halloween Jacks"! That's it for Part 1 of the Halloween Jacks Tutorial. Click here for Part 2 of the Tutorial. How-ev-er, don't forget that between now and January 31, you can win a FREE copy of the Halloween Jacks pattern I'm giving away. There's lots of ways to enter, and you can do ONE or ALL of the following to get extra chances to win:
- Leave a comment on this blog = 1 chance to win
- Become a follower of this blog = 1 chance to win
- Get a friend to leave a comment or become a follower of this blog (be sure to let me know who your friend is) = 1 chance to win
- Share this blog post on your Facebook page (there's a little Facebook link in the left-hand column of this blog) (be sure to let me know) = 1 chance to win
Gotta close now, but in the meantime, Happy Stitchin'! -- xoxo Melanie
Great project and tutorial Melanie!
ReplyDeleteThanks Debra, and you are entered to win a free copy!
ReplyDeleteVery nice. Thank you very much for your share.
ReplyDeleteI'm so glad to find you. I learn so much in your tutorial,as I am new to felting.
ReplyDeleteIs Halloween Jacks available for purchase?
ReplyDelete